

One of the many unexpected discoveries over the past five years as a blogger, is my love and passion for photography. While I’ve always enjoyed photography, it wasn’t until I started blogging that I found myself developing an unexpected love and passion for it. But when I first started as a blogger, I didn’t have a big fancy camera. Oh no, like most of us, I started taking my blog pictures on my phone before moving to a basic point and shoot camera.
But as time went on, I got increasingly frustrated at how bad my pictures were and longed to be a ‘proper’ blogger with a big fancy Canon camera. So four years ago, I took the plunge and invested in a Canon 700D. And it was honestly one of the best blogging decisions I’ve ever made. Since then I’ve taught myself (thanks YouTube) how to get the most out of the camera to create the pictures I want to create.
But then last year, I traded in my Canon 700D for an Olympus Pen EPL 8 and the 45mm lens. I just wanted something a lot smaller, easier to fit in my bag without compromising on the picture quality. And a year on, it’s still my favourite lens to use. So if you also own an Olympus Pen and are tempted by the 45mm lens, here’s why the 45mm lens is the perfect lens for you:
Now, the first thing to understand is that 45mm lens is a prime lens. That means its focal length is fixed. So you can’t zoom in and out like you can with the kit lens. It’s the reason you have to stand so far back when shooting outfit shoots, but also the reason why you get a gorgeous blur in the background of your images.
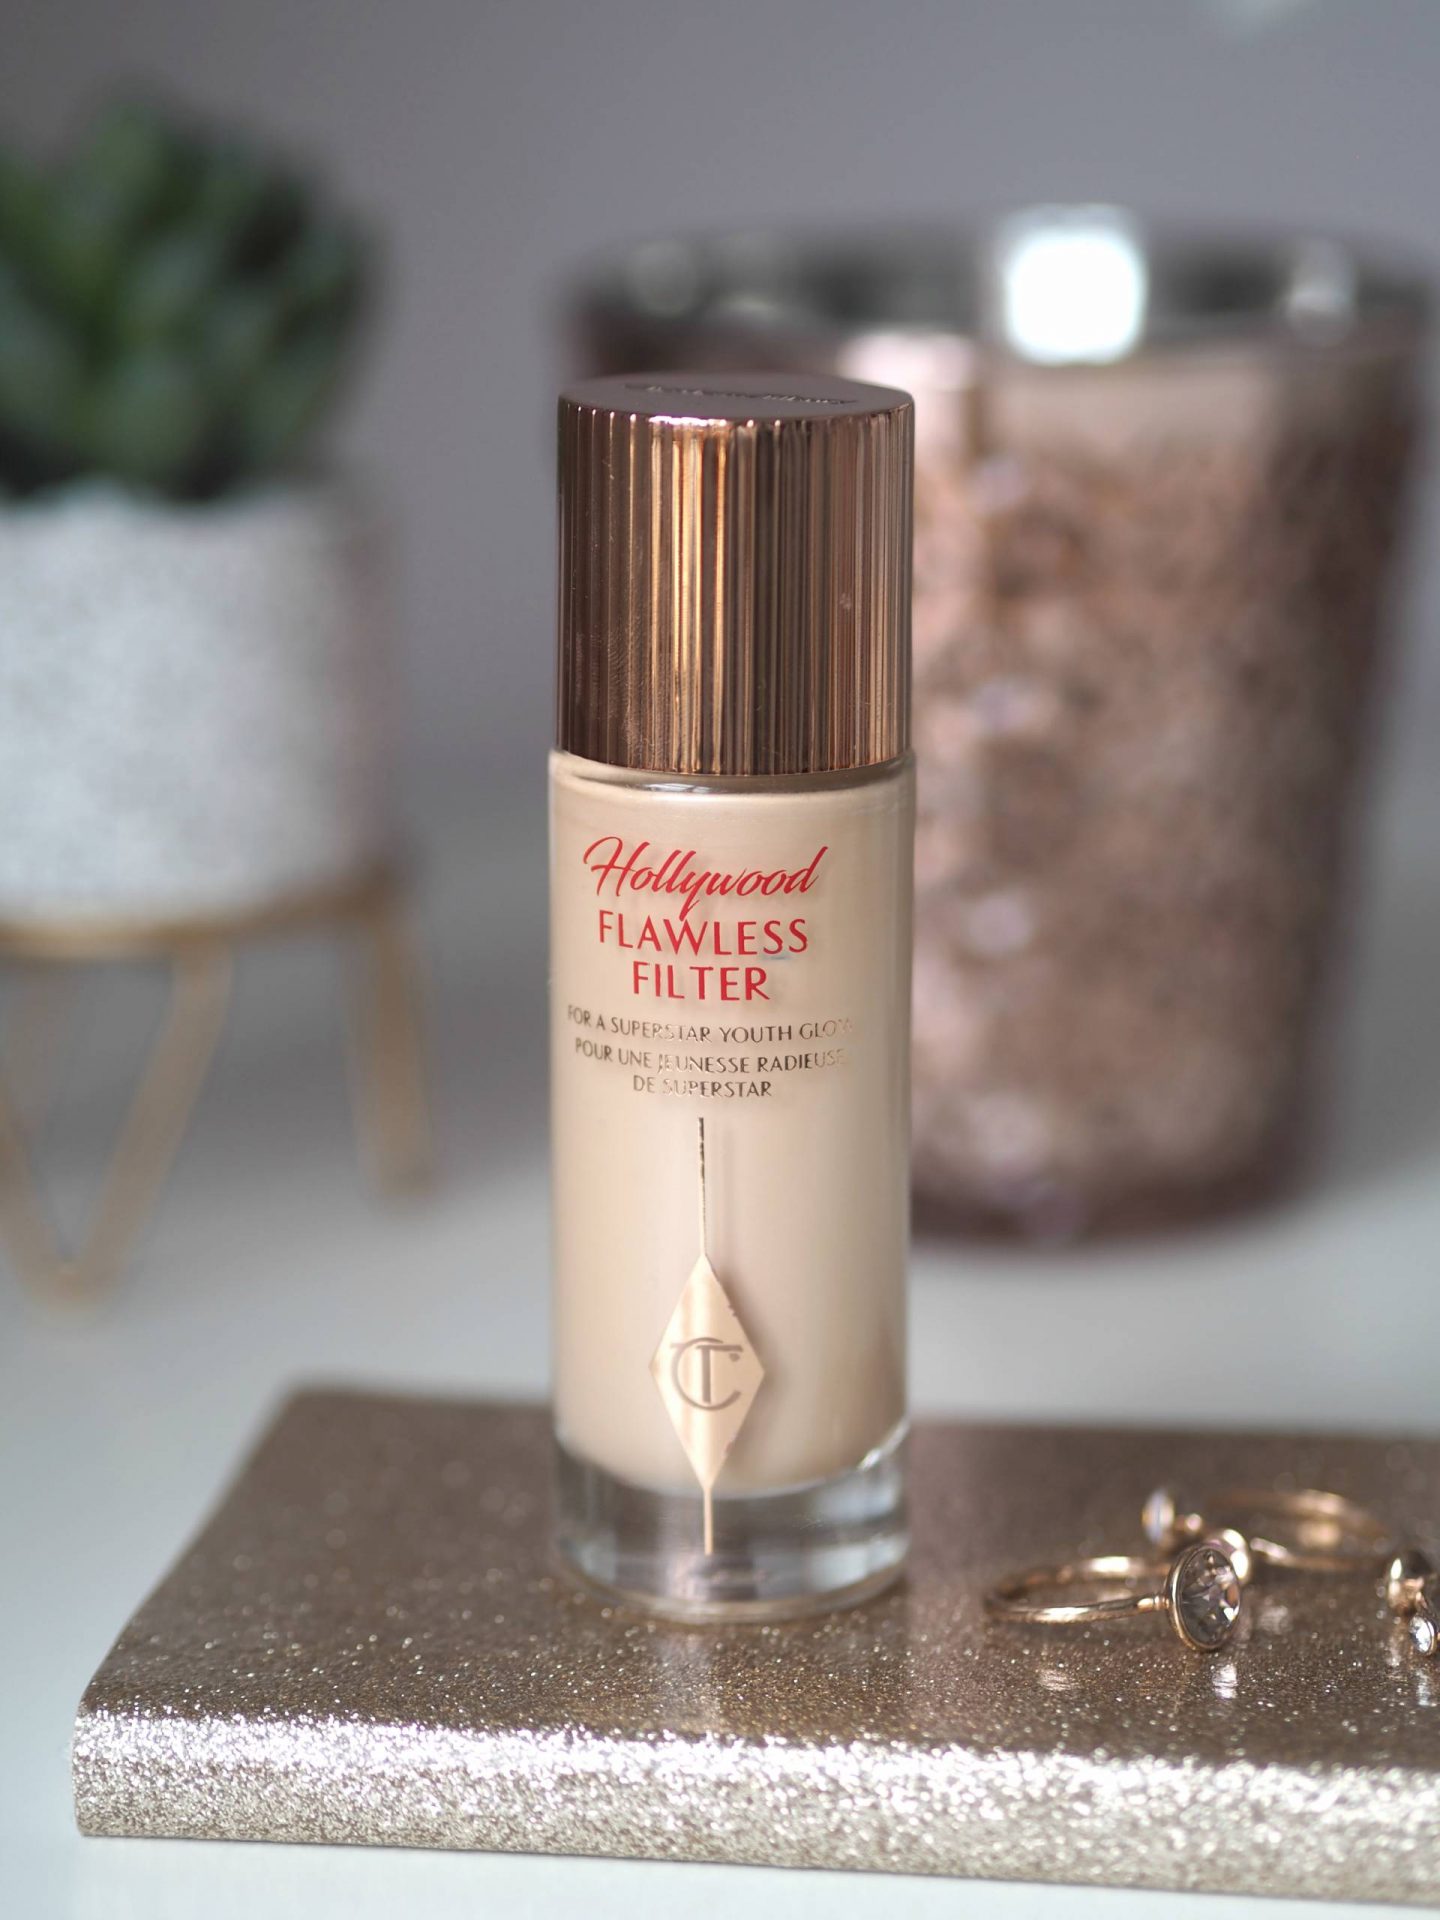
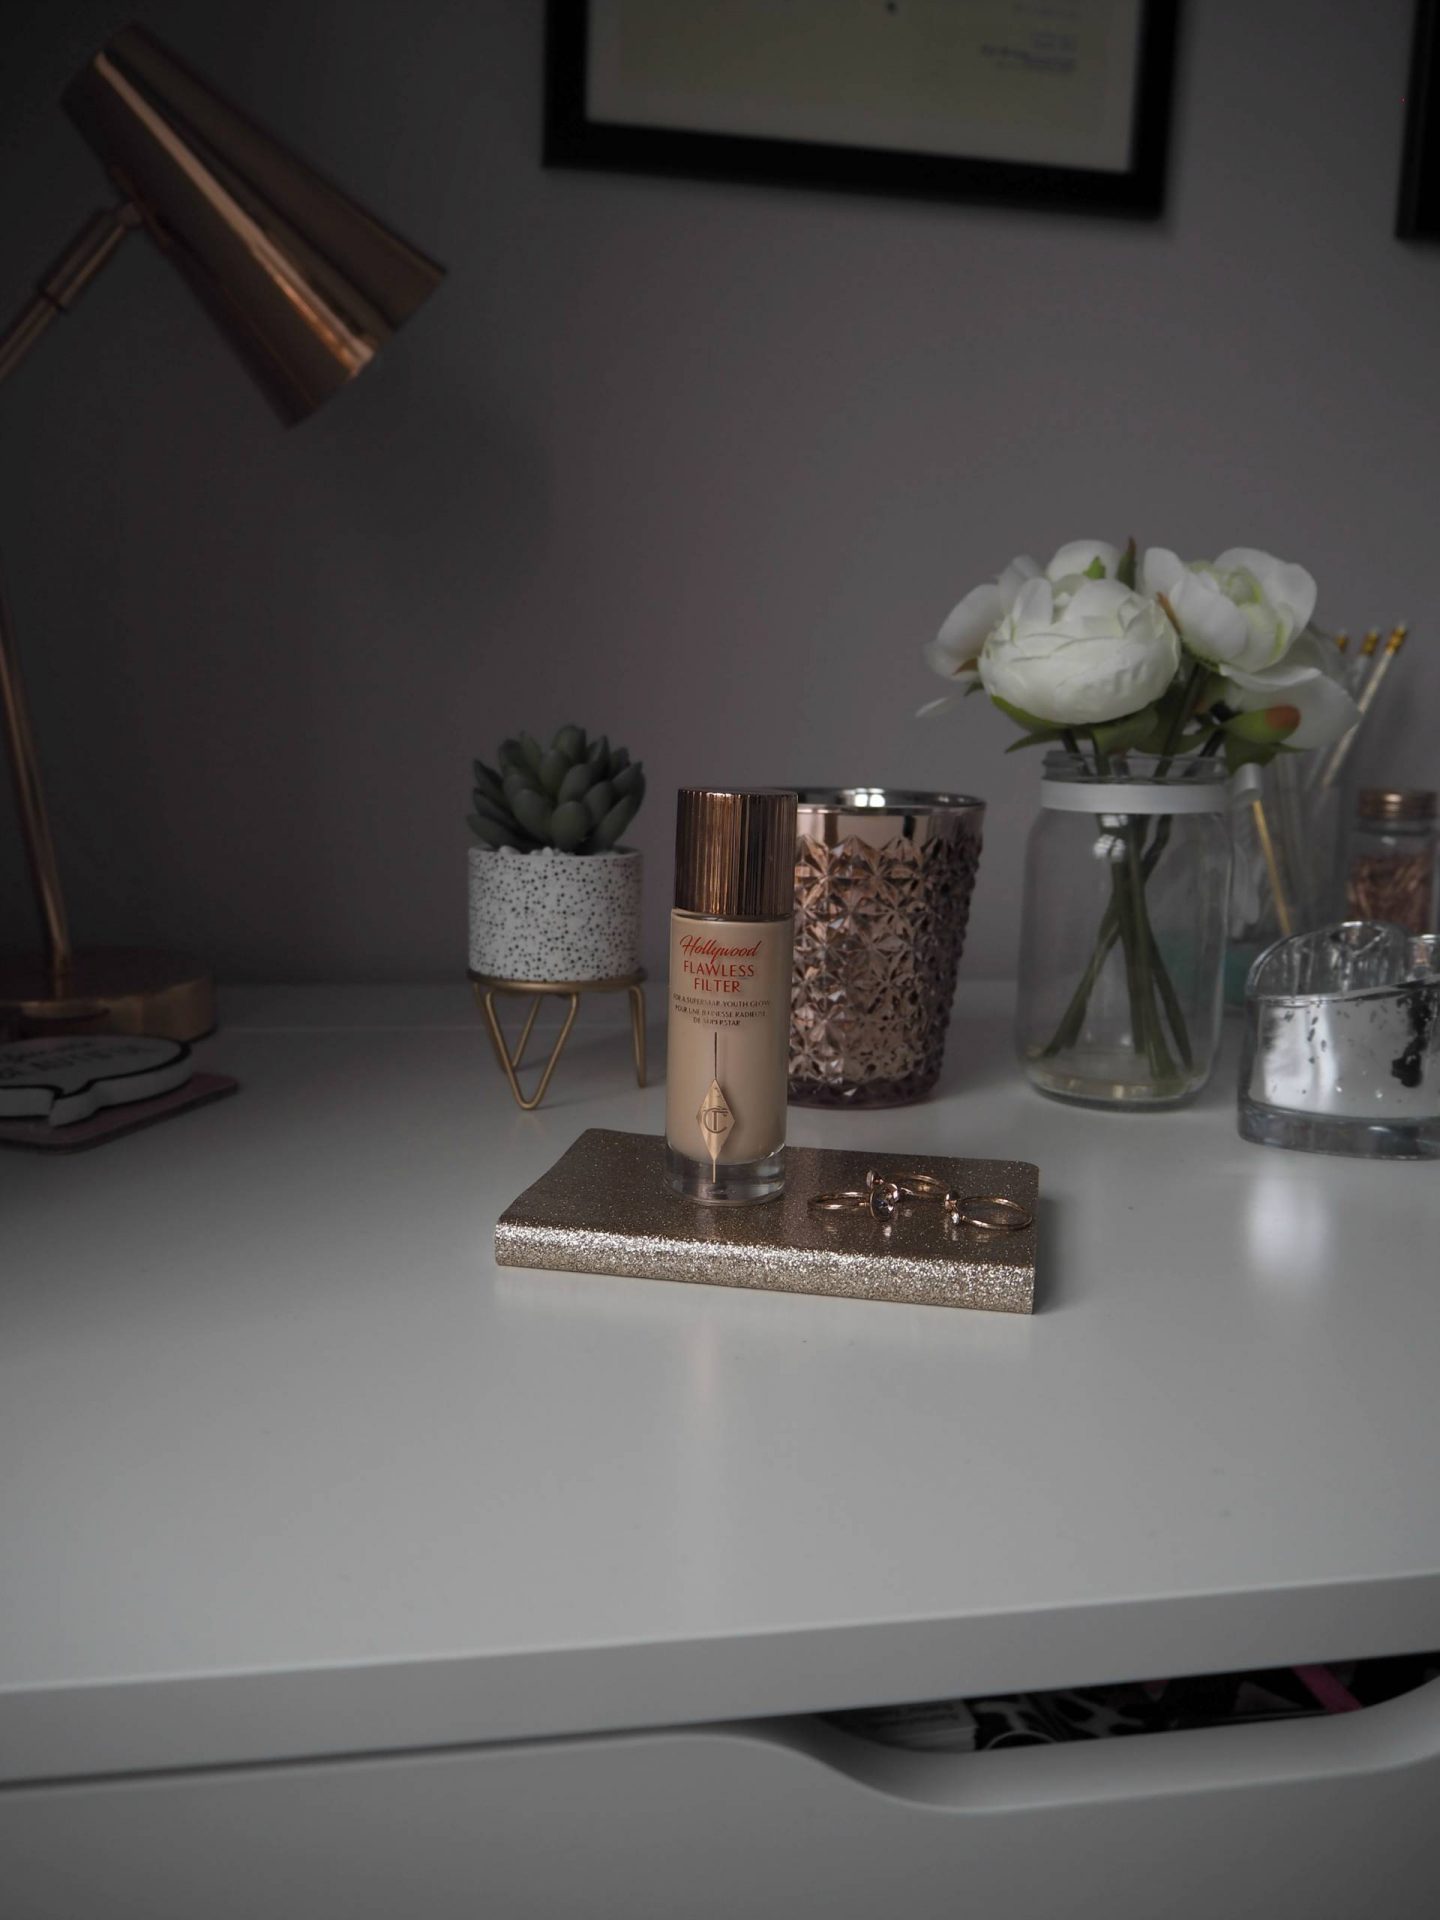
So the picture on the left is taken using the 45mm lens. And the picture on the right is taken using the kit lens. Now as you can see, the image on the left is brighter and has that lovely blur background. While the picture on the right is a lot dark – due to the f-stop. And also has more in the image. They’re both taken from the same point. But as the 45mm is a fixed lens, it zooms in a lot closer on the product.
So the blur is created by playing around with the aperture and your f-stop. The aperture is essentially the opening in the lens that lets the light through. It’s controlled by the f-stop which changes the size of the whole that the light comes through. So a large aperture is a small f-number, which gives you a shallower depth of field and more blur. Whereas a small aperture is a larger f-stop, which gives you a deeper depth of field and less blur.
For me, I use the 45mm lens for a lot of product shots, as well as outfit shots. I find though that the 45mm lens isn’t great for flatlays. Mainly because it’s too zoomed in, and the small f-stop of 1.8 means that it’ll choose to focus in one product – not the whole flatlay. You can still use this lens for flatlays, but I’d increase the f-stop to about f/3. This is similar to the kit lens.
Now I know a lot of people choose to shoot on Auto – and you can still get this kind of effect. But if you can, learn to shoot on Manual. It’s a lot easier to control the type of picture you want to create. And will save you time in editing!
Let me know in the comments if you also have an Olympus Pen and what lens you like to use to shoot pictures on.


Oh my, would love to own a camera like this.
Candice